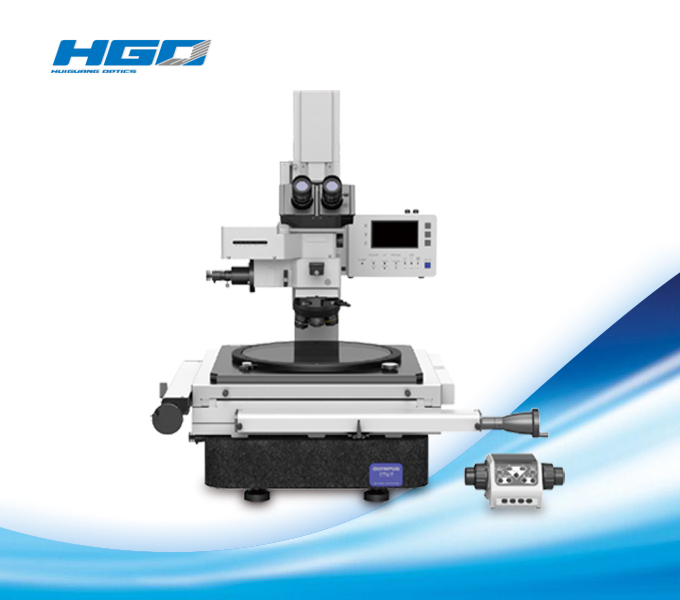
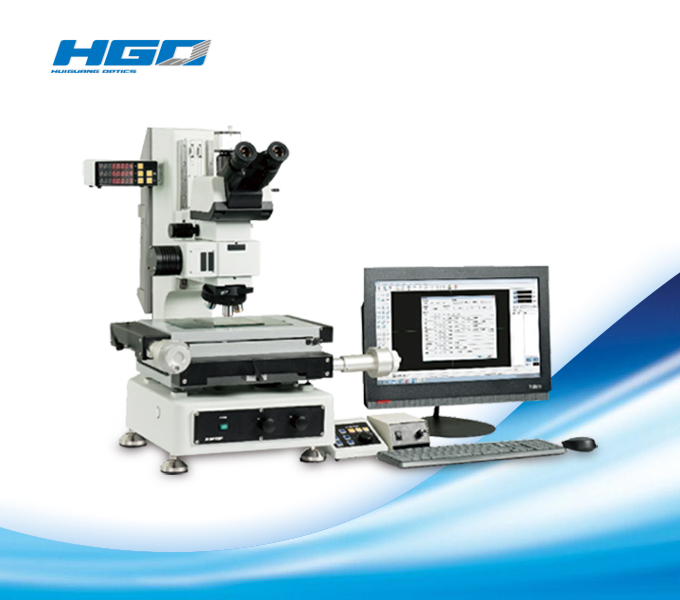
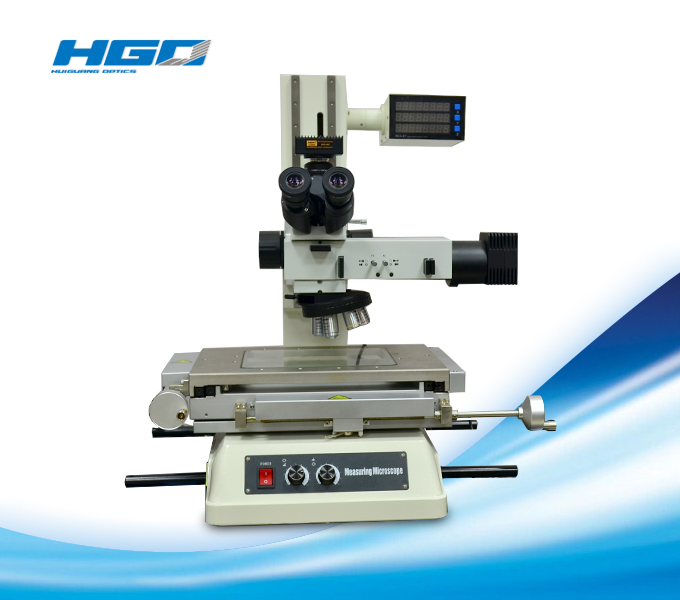
Introduction TO SZM7 Series Measuring Microscope
STM7 is a measurement support software formeasuring microscopes.
Not only is a live image acquired by digital camera and displayed on a monitor,but also observation, measurements and report creation are possible onthe same screen.
Therefore, the STM7 improves your work efficiency.
● More Accurate, Faster, and SimplerMeasurement of Objects with Complex Shapes
The ability to clearly and easily see the output displaycomponent of measuring microscopes is essential. That is why thenew Olympus measuring software has been created, helping to delivercomplex measurements with greater accuracy. The software also enablesthe use of digital cameras.

● Capture Clear, Pin-Sharp Images for HighlyAccurate Measurement with a Complete Lineup of Cameras
High performance model with high speed livedisplay


Introductory model with high price-performance ratio

● Place the Sample and Start to Measure—No Parallel Alignment Required


● Record the Repeated Measurement Procedure
Macro Registration
Frequently used alignment and other measurement procedures can be combined and assigned to a single macro button—eliminating the need to start from scratch each time the microscope is set up.
Replay Measurement

Measurement Point Navigation for Replay Measurement

● Convenient Functions Eliminate Subjectivity in Measurement
Automatic Edge Detection
This function detects the edges of the sample and automatically acquires and measures its coordinates. As a result, operators no longer need to designate the coordinates and subjectivity is minimized. Automatic Edge Detection also features a timer function that enables coordinates to be acquired in a specified time and supports the use of a foot switch that enables the operator to focus on measurement operations without taking his or her hands off the stage handles.

Abnormal Point Elimination
Metal burrs and other abnormal points can be excluded automatically during edge detection. This enables a consistent calculation of measured values, irrespective of the state of the sample. Points excluded as abnormal can also be displayed on the screen in diff erent colors.

Illumination Control

Automatic Magnification Recognition (optional, with coded revolving nosepiece configuration only)
Through use of the coded revolving nosepiece, previously set calibration values are automatically recalled when changing the objective. In this way, the user can always be confi dent that the proper scale is on display.


● Advanced Acquisition Functions
Multiple Image Alignment (MIA) optional
Tile multiple images to capture a single high-magnifi cation, wide-area image. Because the images are tiled on the basis of coordinate data, the system is capable of producing highly reliable images.

● Extend Focus Image (EFI) optional
The EFI function is eff ective for obtaining images that are well-focused throughout on samples with an uneven, complex surface shape. Generate a single image with focal points aligned in all positions.
Simply process multiple images with diff erent focal point positions while moving the Z-axis, or use the motorized model for automated image composition.


