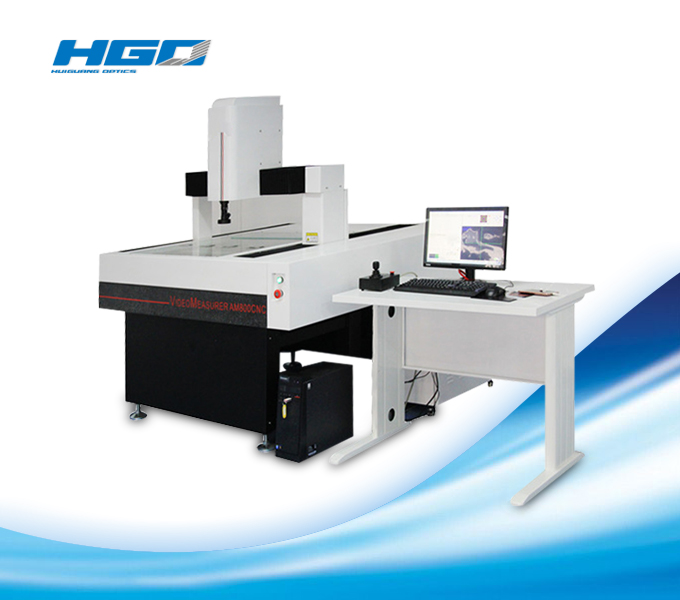
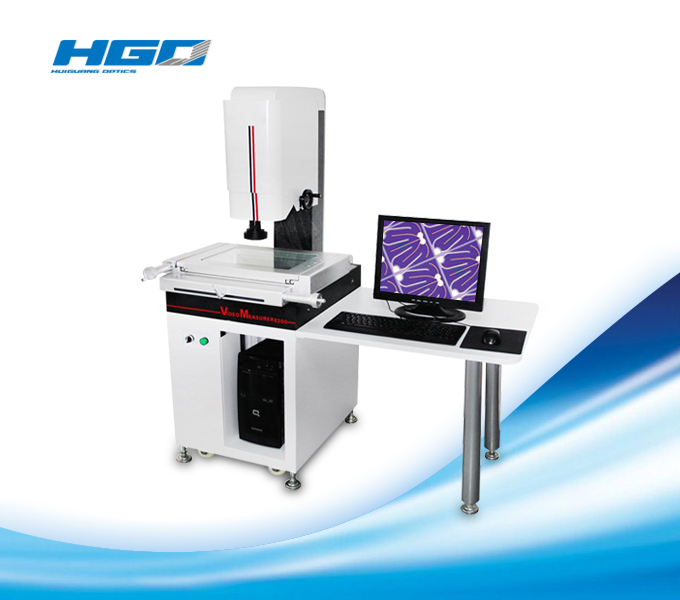
Product model:HG-CN
Createdate:2019-8-6 16:44:42
Hits:94
Characteristic of 2.5D/3D automatic image measuring instrument:
● The motion device driven byhigh-performance servo motor ensures low sound, high precision, and highrepetition when the instrument runs at high speeds.
● TPI precision screw ensures accuracyand reliability of measurement and positioning. Positioning can be accurate to0.001 mm
● The pillar bracket and the base withhigh precision granite structure make it stable and reliable.
●.Equipped with multi-functionalmeasuring software, the measuring speed is 4-5 times faster than that of manualimage measuring instrument.
● It can import DXF files for rapiddetection. Fast programming brings about large batches of measurement toproducts of the same specifications.
● Measuring data can be imported intoWord, Excel, AutoCAD; report output function with rich graphics and text, andtest results can be easily exported.
● Automatic profile scanning, profiletracking and automatic profile scanning.
● Z axis with silver precision linearguide rail and X and Y axis with high precision cross guide rails can guaranteethe accuracy and service life of the device.
● CN special high-definition lens andspecial high-resolution CCD enable high-definition measuring.
● Advanced positioning lens leadingthe industry, easy to realize programming and programed measurement. Automatic magnification lens tubes areoptional.
Technical Specifications
Model | HG-300CN | HG-400CN | HG-500CN | |
Travel Range(mm) | 300x200x200 | 400x300x200 | 500x400x200 | |
Dimension(mm) | 850x1300x1550 | 850x1300x1550 | 850x1300x1550 | |
Metal table size (mm) | 460x360 | 460x360 | 460x360 | |
Table glass size (mm) | 340x250 | 340x250 | 340x250 | |
Weight(kg) | 250 | 250 | 250 | |
Max Load(kg) | 20 | 25 | 25 | |
X, Y axis measurement accuracy(μm) | 3.0+L/200 | |||
| z-axis measurement accuracy(μm) | 5.0+L/100 | |||
X, Y axis movement speed | 0-200mm/s (Arbitrary choice) | |||
Z axis movement speed | 0-100m/s (Arbitrary choice) | |||
Repeatability (mm) | 0.003 | |||
Operation method | software | |||
Grating ruler | 0.001mmGlass grating | |||
X, Y axis guide | Precision cross guide rail | |||
z axis guide | Taiwan "Silver" H-class precision linear guide | |||
Z-axis screw | Taiwan”TBI”Grinding ball screw | |||
Bearing | Japanese original “NSK”Double-decker radial ball bearing | |||
Motor | ”TIGER” AC synchronous servo motor,positioning accuracy ≤0.001mm | |||
Motion controller | SBK4000(Fully closed-loop controller) | |||
CCD | SBK-HC536 1/3 Inch 600 line color CCD (white balance function) | |||
Video card | High resolution color video card | |||
light | profile | Profile light LED cold illumination. Transmitted light goes through condensing lens to give parallel radiation. | ||
Surface | 4-ring and 8-zone LED cold illumination. Each zone is controlled independently, and the brightness of Level 256 is controlled by program | |||
Optical lens | 0.7-4.5X Positioning lens,1:6.5 Detent step len | |||
Magnification | Optical Magnification: 0.7~4.5X; System Magnification: 24~158X | |||
Software | SBK-CNC-C Specialized automatic measurement software | |||
Computer | Lenovo computer: memory 2G, hard disk 500G, 19-inch LCD monitor, DVD drive | |||
Power | 220V/50Hz/3A | |||
Working Environment | Temperature:20℃±2℃,Tempearature Change<2℃/hr,Humidity30~80% | |||
Desk | Bulite-in switch power、Controller、Motor driver、Power control switch 、Indicator、Emergency stop switch、Shift roller | |||
Warranty | 12 month | |||


